 The Problem
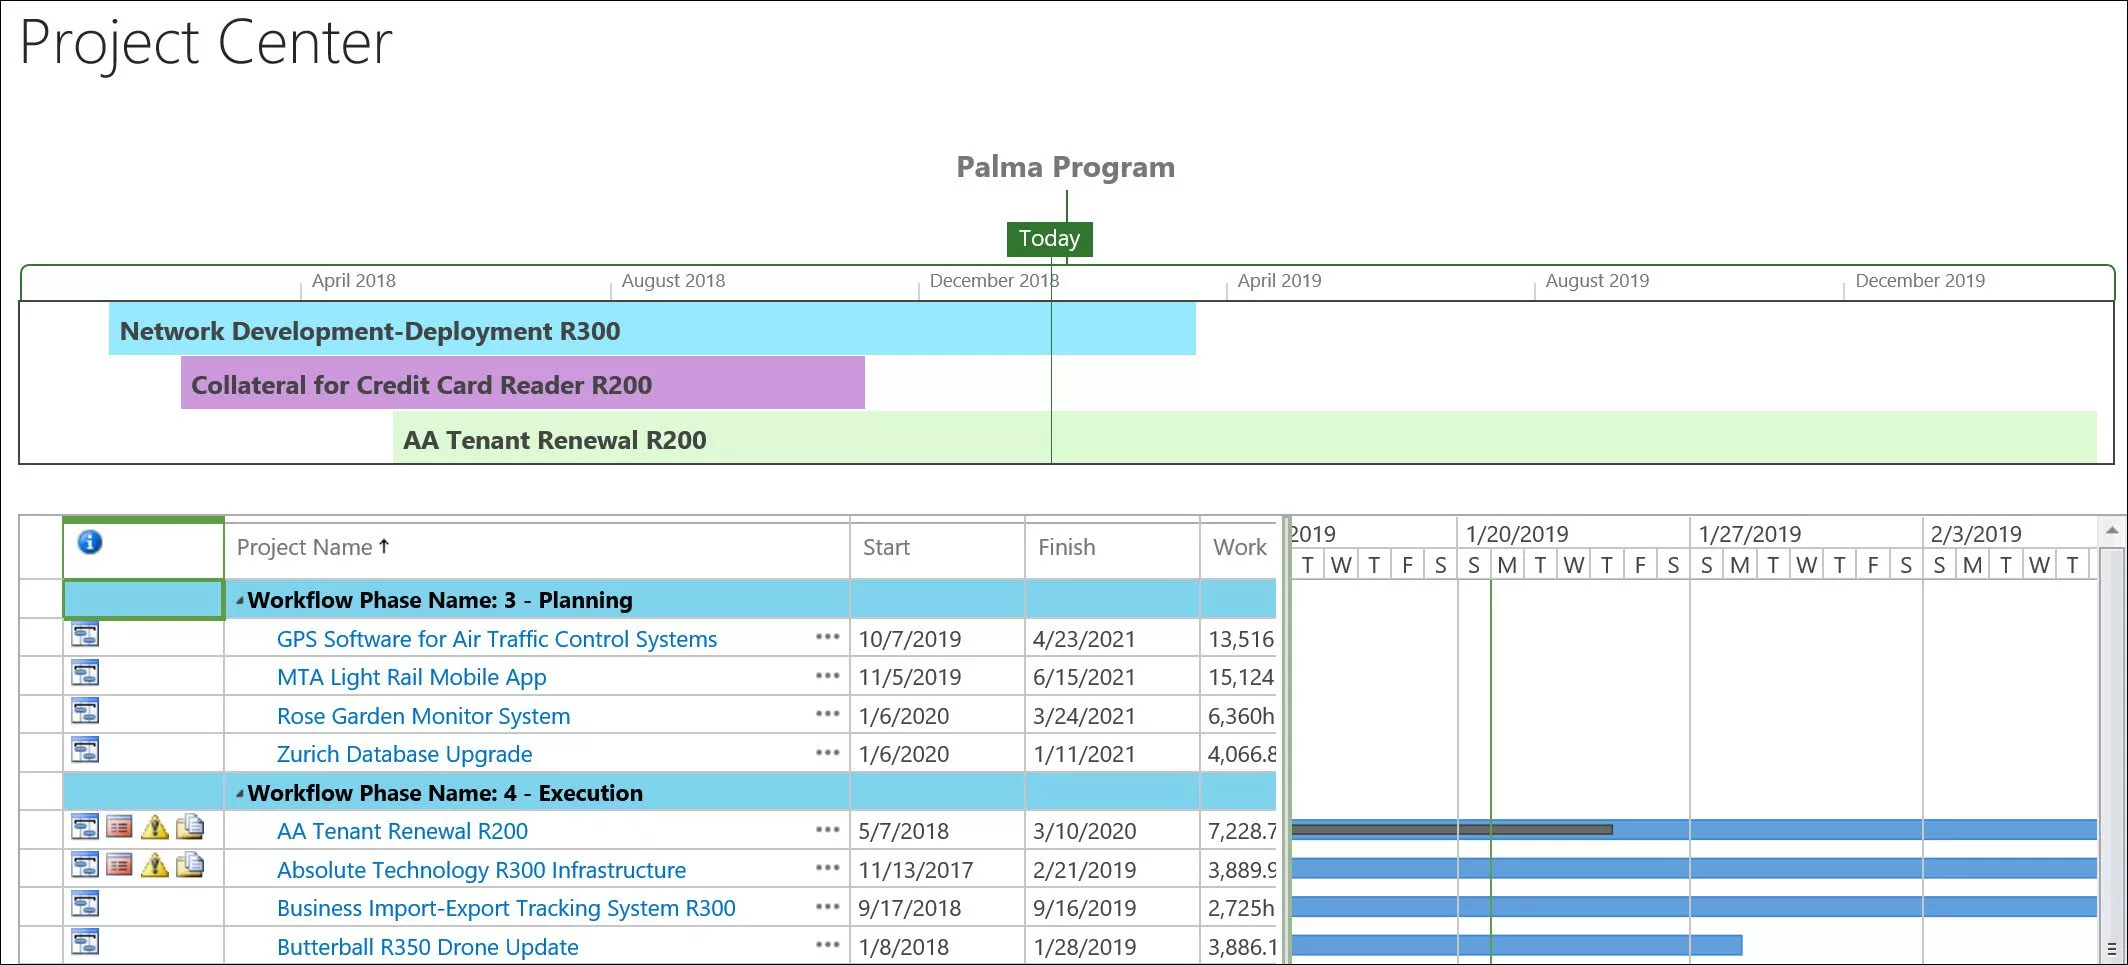
Two of my Sensei colleagues recently shared a blog post article that provided a nice overview of the capabilities of Microsoft’s new Roadmap application, as well as how to create a new roadmap using this tool. When you begin creating your own roadmaps, you will find that it is fairly easy to add summary tasks, detailed tasks, and milestones to your roadmap. However, where you quickly run into a roadblock is when you want to create a roadmap that represents a program of projects, with a single bar for each project in the program listed on its own roadmap row. For example, Figure 1 shows the type of program roadmap I want to create, where each bar represents the entire project.
Figure 1 – Program Roadmap
Using the built-in capabilities of the Roadmap application, it is impossible to create a program roadmap such as the one shown in Figure 1. But using the tips I will present in this blog post article, you can quickly and easily create a roadmap to represent a program of projects.
The Solution
To create a program roadmap in the Roadmap application, complete the following steps:
- Launch your web browser and navigate to the Project Home
- Click the Create New pick list button and select the Roadmap
- On the blank Roadmap page, click the Untitled roadmap link at the top of the page.
- In the side pane, enter the name of your new roadmap and press the Enter
- Click the Add row
- In the side pane, enter the name of the first project in the program as the name of the row, and then select the Owner of the row as well.
- In the Connection section of the side pane, click the Connect to a project pick list and select the Project Online
- In the Connect to a project side pane, enter the URL of your Project Web App in the Project Web App URL
- In the Choose a project search field, begin typing the name of the first project in the program, and then select that project in the resulting list of projects.
- Repeat steps 5 thru 9 for every project in the program.
By completing the preceding set of steps, you have created a roadmap containing a blank row for every project in your program. To add each project to its corresponding roadmap row, complete these additional steps:
- Click the name of the project in the first row of the roadmap.
- In the Connection section of the side pane, click the hyperlink for the project name, such as shown in Figure 2. The Roadmap application will display a Project Detail Page (PDP) for the selected project on a new web browser tab.
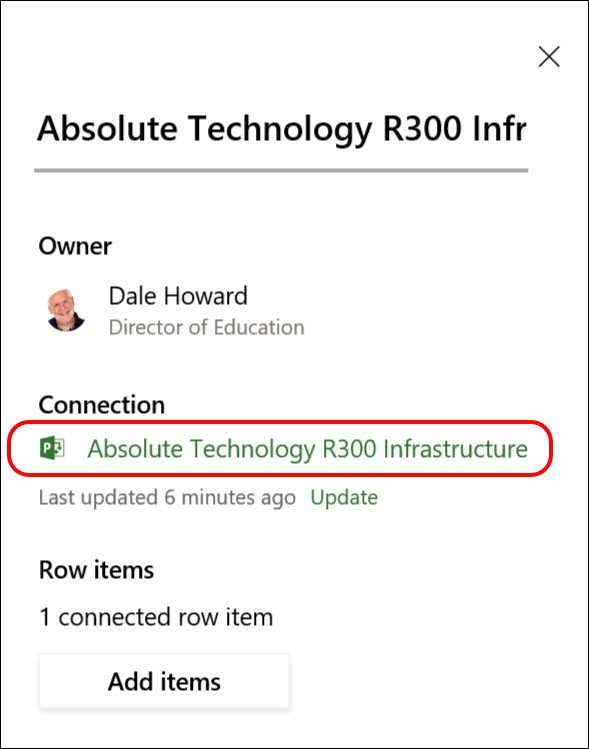
Figure 2 – Click the hyperlink for the project name
3. In the “drill down” section at the top of the Quick Launch menu, click the Schedule link, such as shown in Figure 3.
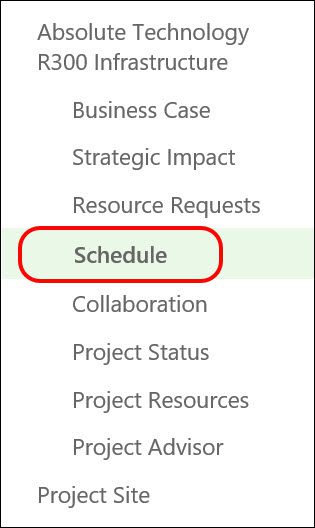
Figure 3 – Click the Schedule link
4. Click the Options tab to display the Option.
5. In the Show/Hide section of the Options ribbon, confirm that the Project Summary Task checkbox is selected, as shown in Figure 4. If it is not selected, then you must select it.
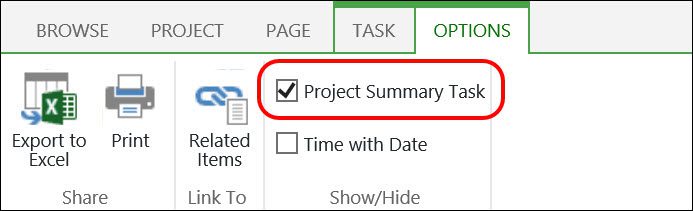
Figure 4 – Select the Project Summary Task checkbox
6. Select the Project Summary Task (Row 0 or Task 0) in the detailed project pane. Note, the Project Summary Task is a special summary task that represents the entire project.
7. Click the Task tab to display the Task
8. In the Tasks section of the Task ribbon, click the Add to Roadmap button, as shown in Figure 5.

Figure 5 – Click the Add to Roadmap button
9. In the Add to Roadmap dialog shown in Figure 6, select the correct values in the Roadmap and Row fields, as needed, and then click the Add
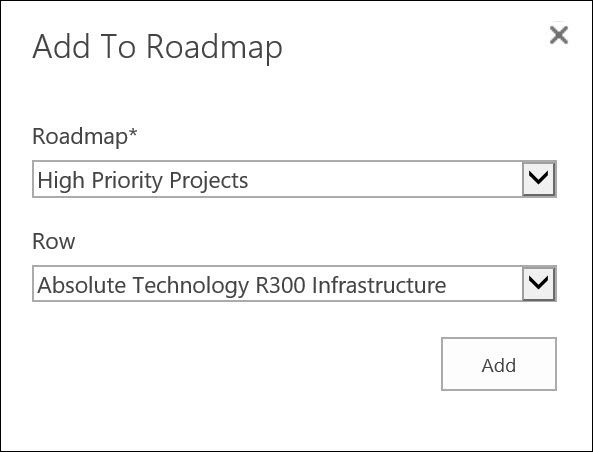
Figure 6 – Add to Roadmap dialog
10. In the Add to Roadmap confirmation dialog shown in Figure 7, click the Close The Project Summary Task for the selected project has now been added to your roadmap.

Figure 7 – Confirmation dialog
11. Close the web browser tab that displays the project whose Project Summary Task you just added to your roadmap.
12. On the web browser tab that displays your roadmap, repeat steps 1 thru 11 for each of the projects in your program.
After completing the previous series of steps to create your roadmap, the final step is to use the Zoom slider to view the projects in your program roadmap, as shown in Figure 8.
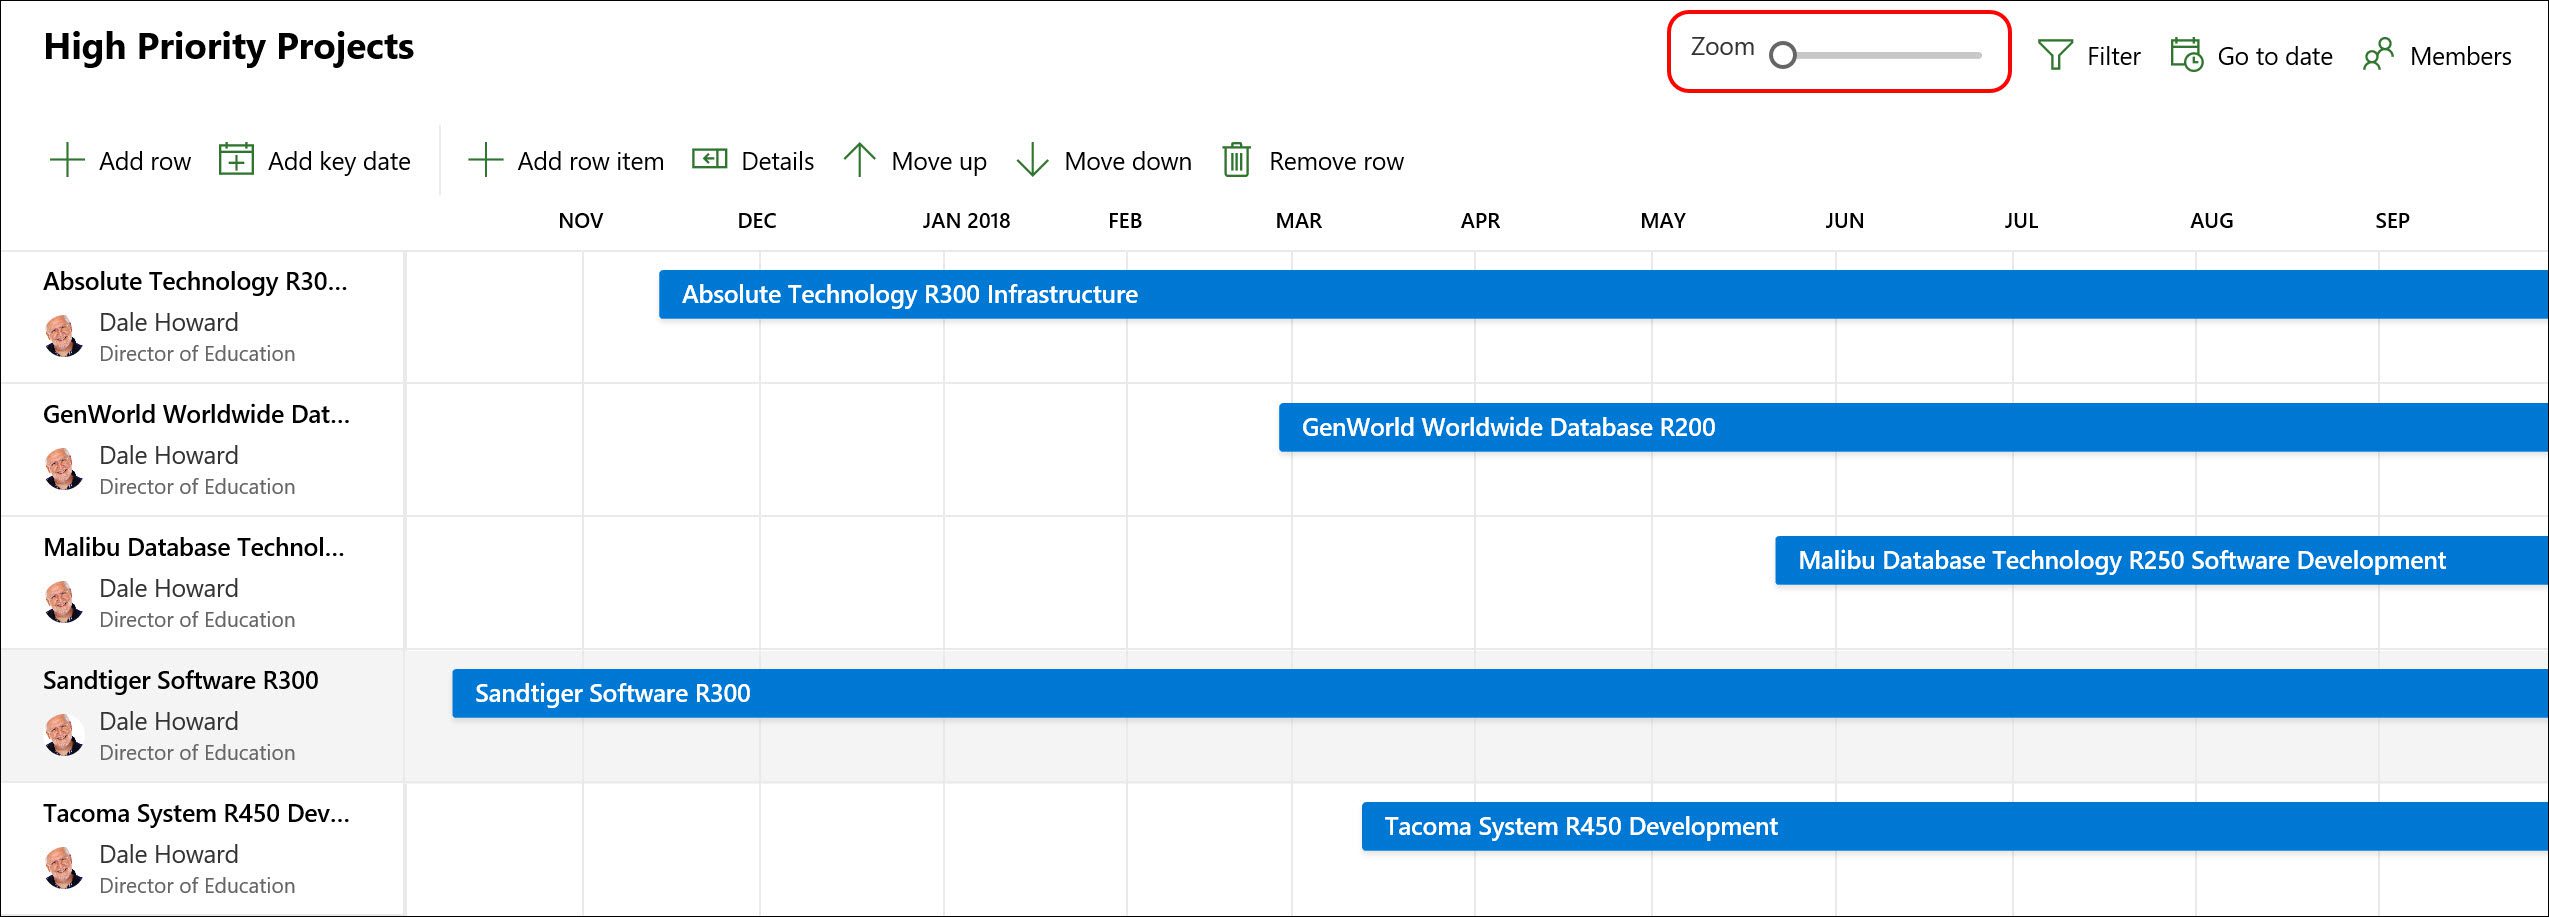
Figure 8 – Click the Zoom slider to view your program roadmap